Gazebo Simulation Integration
Gazebo is the most popular robotics simulator in the ROS ecosystem, so it is naturally a good fit to integrate with MoveIt.
The MoveIt Setup Assistant helps setup your robot to work with Gazebo, but there are still some additional steps required to successfully run MoveIt with Gazebo.
After MoveIt Setup Assistant
This tutorial assumes that the robot was set up with MoveIt Setup Assistant, so it is crucial to follow that tutorial first. To prepare your robot for Gazebo simulation a few configuration settings are required as indicated by the following list:
- Fix the robot to the world coordinate system
- Add dynamics parameters to the joint specifications
- Add inertia matrices and masses to the links
- Add material properties to links like friction and color
- Configure gazebo_ros_control, transmissions and actuators
- Configure ros_control controllers
1. Fix the robot to the world coordinate system
In order to fixate your robot to Gazebo’s world frame, you need to add a fixed joint between a link called world and your robot’s base link:
<link name="world"/>
<joint name="world_joint" type="fixed">
    <origin xyz="0 0 0" rpy="0 0 0"/>  <!-- Place the robot wherever you want -->
    <parent link="world"/>
    <child link="base_link"/>  <!-- replace this name with your robot's base link -->
</joint>
2. Add dynamics parameters to the joint specifications
For correct physical simulation of your joints, we need to add dynamics parameters (damping and friction) to every movable joint definition:
<dynamics damping="1.0" friction="1.0"/>
3. Add inertia matrices and masses to the links
For correct physical simulation of your links, we need to define inertia properties for every link.
If your robot manufacturer doesn’t provide the corresponding values, you can estimate them via MeshLab as explained in the relevant Gazebo documentation page.
Add the following XML snippet to your URDF link definitions:
<inertial>
    <origin xyz="0 0 0" rpy="0 0 0" />
    <mass value="3.06" />
    <inertia ixx="0.3" ixy="0.0" ixz="0.0" iyy="0.3" iyz="0.0" izz="0.3" />
</inertial>
4. Add material properties to links like friction and color
In order to have a nice colorization of the robot in Gazebo’s visualization we need to define material properties. Besides colors, these also include friction parameters µ1 and µ2, which should be chosen identical usually. They define the Coloumb friction coefficients for two orthogonal directions in the contact plane. For each link add the following XML snippet at the top level of your URDF document:
<gazebo reference="link name">
    <material>Gazebo/White</material>
    <mu1>0.2</mu1>
    <mu2>0.2</mu2>
</gazebo>
5. Configure gazebo_ros_control, transmissions and actuators
To enable the actuation of your robot in Gazebo, we need to configure ros_control.
ROS Control is a highly capable robot-agnostic stack, providing interfaces to control theoretically any type of robot. gazebo_ros_control enables ROS control to be used in Gazebo.
See its document for full details.
To define transmissions and actuators for every joint, we define a reusable xacro macro first:
<xacro:macro name="control" params="joint">
    <transmission name="${joint}_transmission">
        <type>transmission_interface/SimpleTransmission</type>
        <!-- The EffortJointInterface works best with Gazebo using torques to actuate the joints -->
        <joint name="${joint}">
            <hardwareInterface>hardware_interface/EffortJointInterface</hardwareInterface>
        </joint>
        <actuator name="${joint}_motor">
            <hardwareInterface>hardware_interface/EffortJointInterface</hardwareInterface>
            <mechanicalReduction>1</mechanicalReduction>
        </actuator>
    </transmission>
</xacro:macro>
Subsequently, we can use the macro to instantiate transmissions and actuators for every joint:
<xacro:control joint="<joint name>"/>
Further, we need to configure the gazebo_ros_control plugin:
<gazebo>
    <plugin name="gazebo_ros_control" filename="libgazebo_ros_control.so"/>
</gazebo>
6. Configure ros_control controllers
Next, we need to configure and tune the controllers for the robot. The following gain parameters are just coarse examples and should be tuned for your specific robot. See the ros_control documentation for more details. Edit your MoveIt config’s ros_controllers.yaml file along these lines (this is an example for the Panda robot):
# Publish joint states
joint_state_controller:
    type: joint_state_controller/JointStateController
    publish_rate: 50

# Configure effort-based trajectory controller for the Panda arm
panda_arm_controller:
    type: effort_controllers/JointTrajectoryController
    joints:
        - panda_joint1
        - panda_joint2
        - panda_joint3
        - panda_joint4
        - panda_joint5
        - panda_joint6
        - panda_joint7
    gains:
        panda_joint1: { p: 15000, d: 50, i: 0.01 }
        panda_joint2: { p: 15000, d: 50, i: 0.01 }
        panda_joint3: { p: 15000, d: 50, i: 0.01 }
        panda_joint4: { p: 15000, d: 50, i: 0.01 }
        panda_joint5: { p: 10000, d: 50, i: 0.01 }
        panda_joint6: { p:  5000, d: 50, i: 0.01 }
        panda_joint7: { p:  2000, d: 50, i: 0.01 }

    state_publish_rate: 25
    constraints:
        goal_time: 2.0

# Configure effort-based trajectory controller for the Panda hand
panda_hand_controller:
    type: effort_controllers/JointTrajectoryController
    joints:
        - panda_finger_joint1
        - panda_finger_joint2

    gains:
        panda_finger_joint1: { p: 5, d: 1.0, i: 0 }
        panda_finger_joint2: { p: 5, d: 1.0, i: 0 }

    state_publish_rate: 25

# Declare available controllers for MoveIt
controller_list:
    - name: panda_arm_controller
      action_ns: follow_joint_trajectory
      type: FollowJointTrajectory
      default: true
      joints:
        - panda_joint1
        - panda_joint2
        - panda_joint3
        - panda_joint4
        - panda_joint5
        - panda_joint6
        - panda_joint7

    - name: panda_hand_controller
      action_ns: follow_joint_trajectory
      type: FollowJointTrajectory
      default: true
      joints:
        - panda_finger_joint1
        - panda_finger_joint2
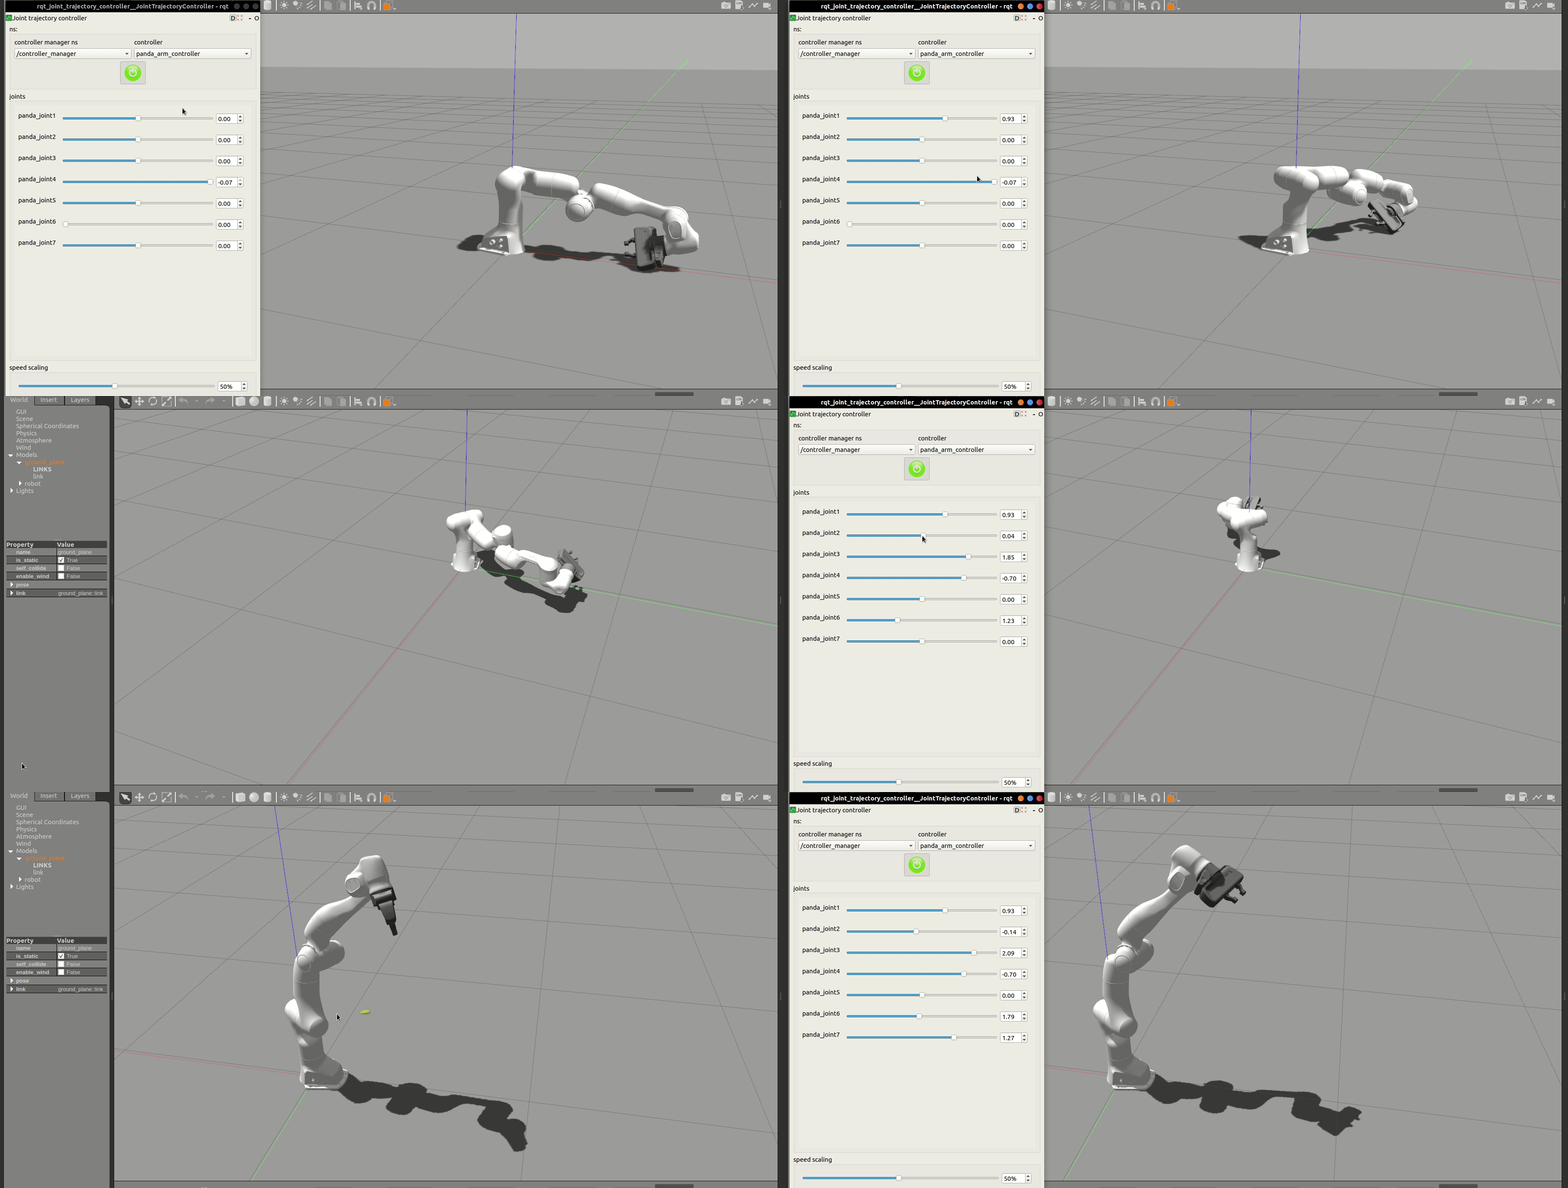
Now we can control our robot in Gazebo via ROS and MoveIt. For a simple GUI interface with sliders to move your joints, install rqt_joint_trajectory_controller.
In terminal-1:
roslaunch panda_moveit_config gazebo.launch
In terminal-2:
rosrun rqt_joint_trajectory_controller rqt_joint_trajectory_controller
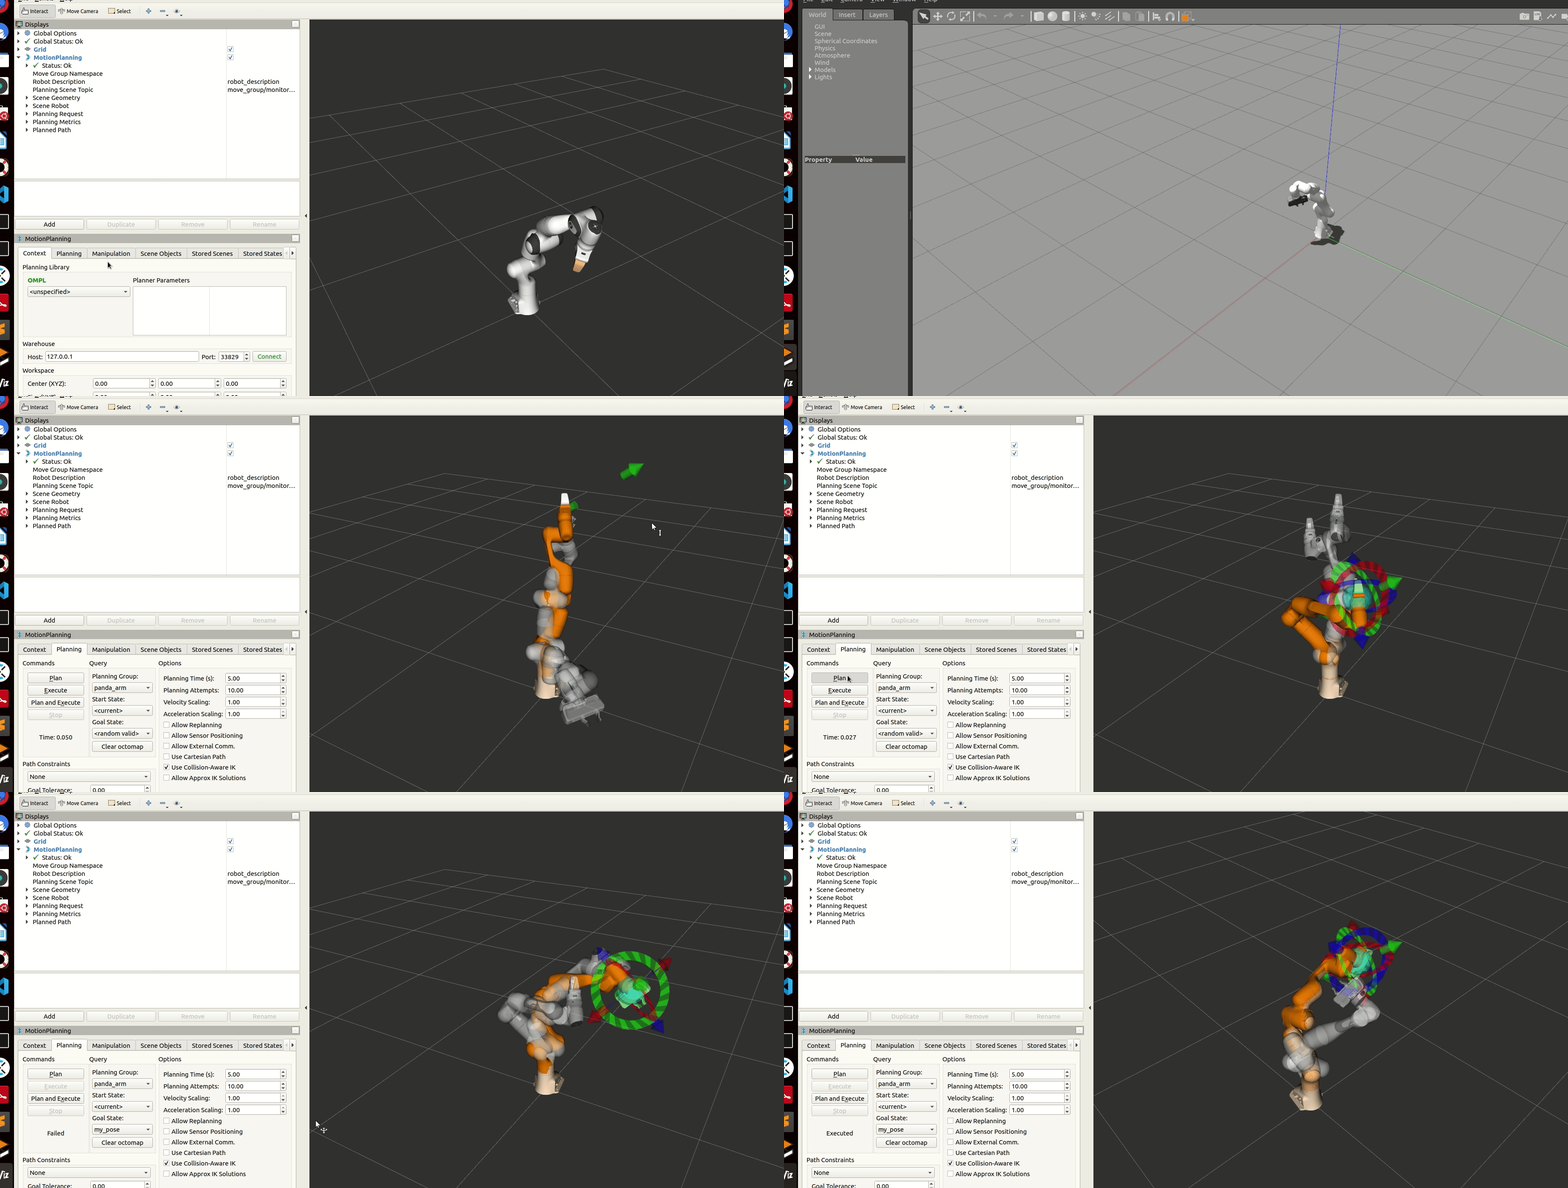
Now it is time to use MoveIt and Gazebo together. Just launch:
roslaunch panda_moveit_config demo_gazebo.launch
Open Source Feedback
See something that needs improvement? Please open a pull request on this GitHub page

